Universal LED Indicator HAZARD kit for THUNDERBIRD, Himalayan, Continental GT & Other Bikes
₹1,950.00
1 YEAR REPLACEMENT WARRANTY **
This works on BS4 models. You need an extra switch to change patterns. Or if fog light’s are installed, then the fog light’s switch will also work for the same.
- Digital THUNDERBIRD 350cc
- Digital THUNDERBIRD 500cc
- CONTINENTAL GT
- RE HIMALAYAN
- CLASSIC 350cc
- CLASSIC 500cc
- CLASSIC DESERT STORM
- STANDARD 350cc
- STANDARD 500cc
- ELECTRA
- OLD THUNDERBIRD
- MACHISMO 350cc
- MACHISMO 500cc
- LIGHTNING 535cc
- Bajaj Avenger
This kit can also be installed on any other motorcycles.
Description
Universal LED Indicator HAZARD kit for THUNDERBIRD, Himalayan, Continental GT & Other Bikes
Features:
1. Use as Emergency Signal.
2. Always be visible during heavy fog and rainfall
3. Speed alert for other vehicles on the highways.
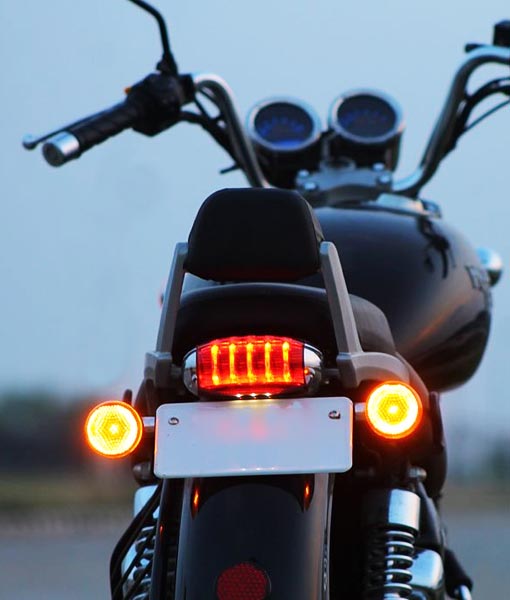
4. 70% brighter than stock bulb indicators.
5. Group Ride Signature.
6. Easy and hassle free installation.
7. Longer life than stock bulb indicators.
ACTIVATING & DEACTIVATING the HAZARD SYSTEM
- Switch on the ignition of your motorcycle
- Your indicators should be in OFF position
- Now push your indicator switch to the RIGHT – Quick LEFT – Quick Right – Quick LEFT- Press in the middle. ( Full operation should be done without any long pause )
- Your HAZARD should now be Activated.
- To switch Deactivate HAZARD, switch ON any indicator.
- To reactivate follow Step 3
Changing HAZARD Flashing Patterns
- Your Hazard should be Activated.
- Quickly Switch ON and OFF your parking lights.
- You will go to the next mode.
Please Note. – If you wish to have your Parking Lights or Headlight ON during the HAZARD is Activated, your mode will not change.
Only if the Parking switch is turned ON and OFF quickly, the Pattern will shift to the next one.
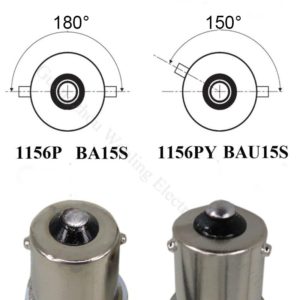
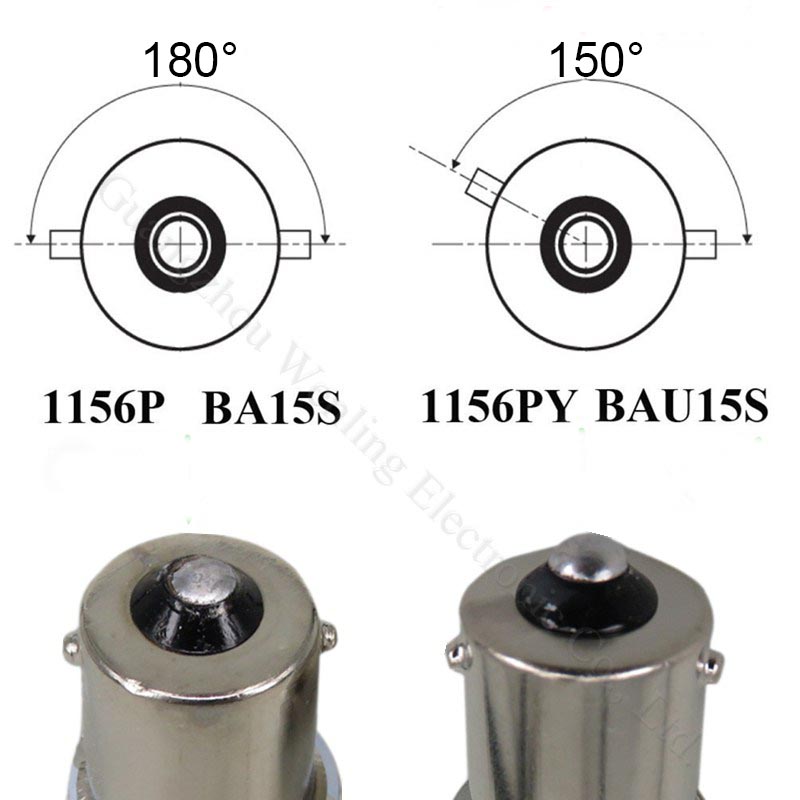
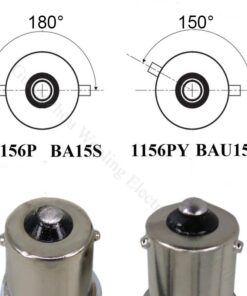
Check your bulb type and select accordingly before placing the order.
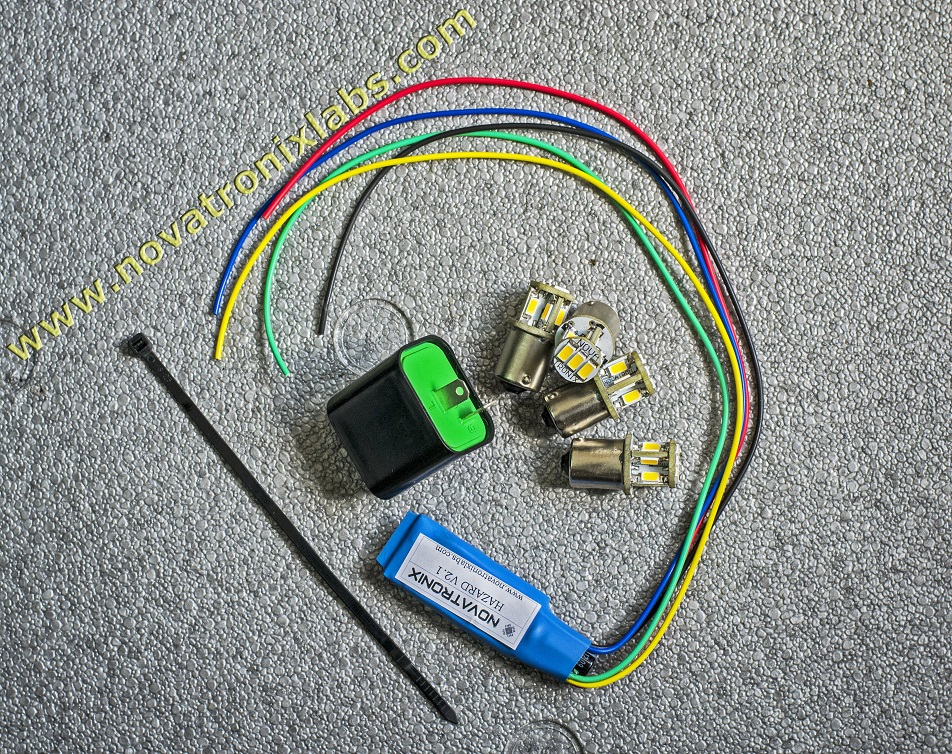
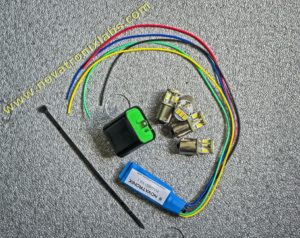
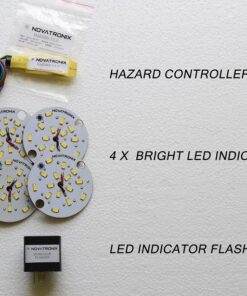
WHAT WILL BE INCLUDED IN THE KIT
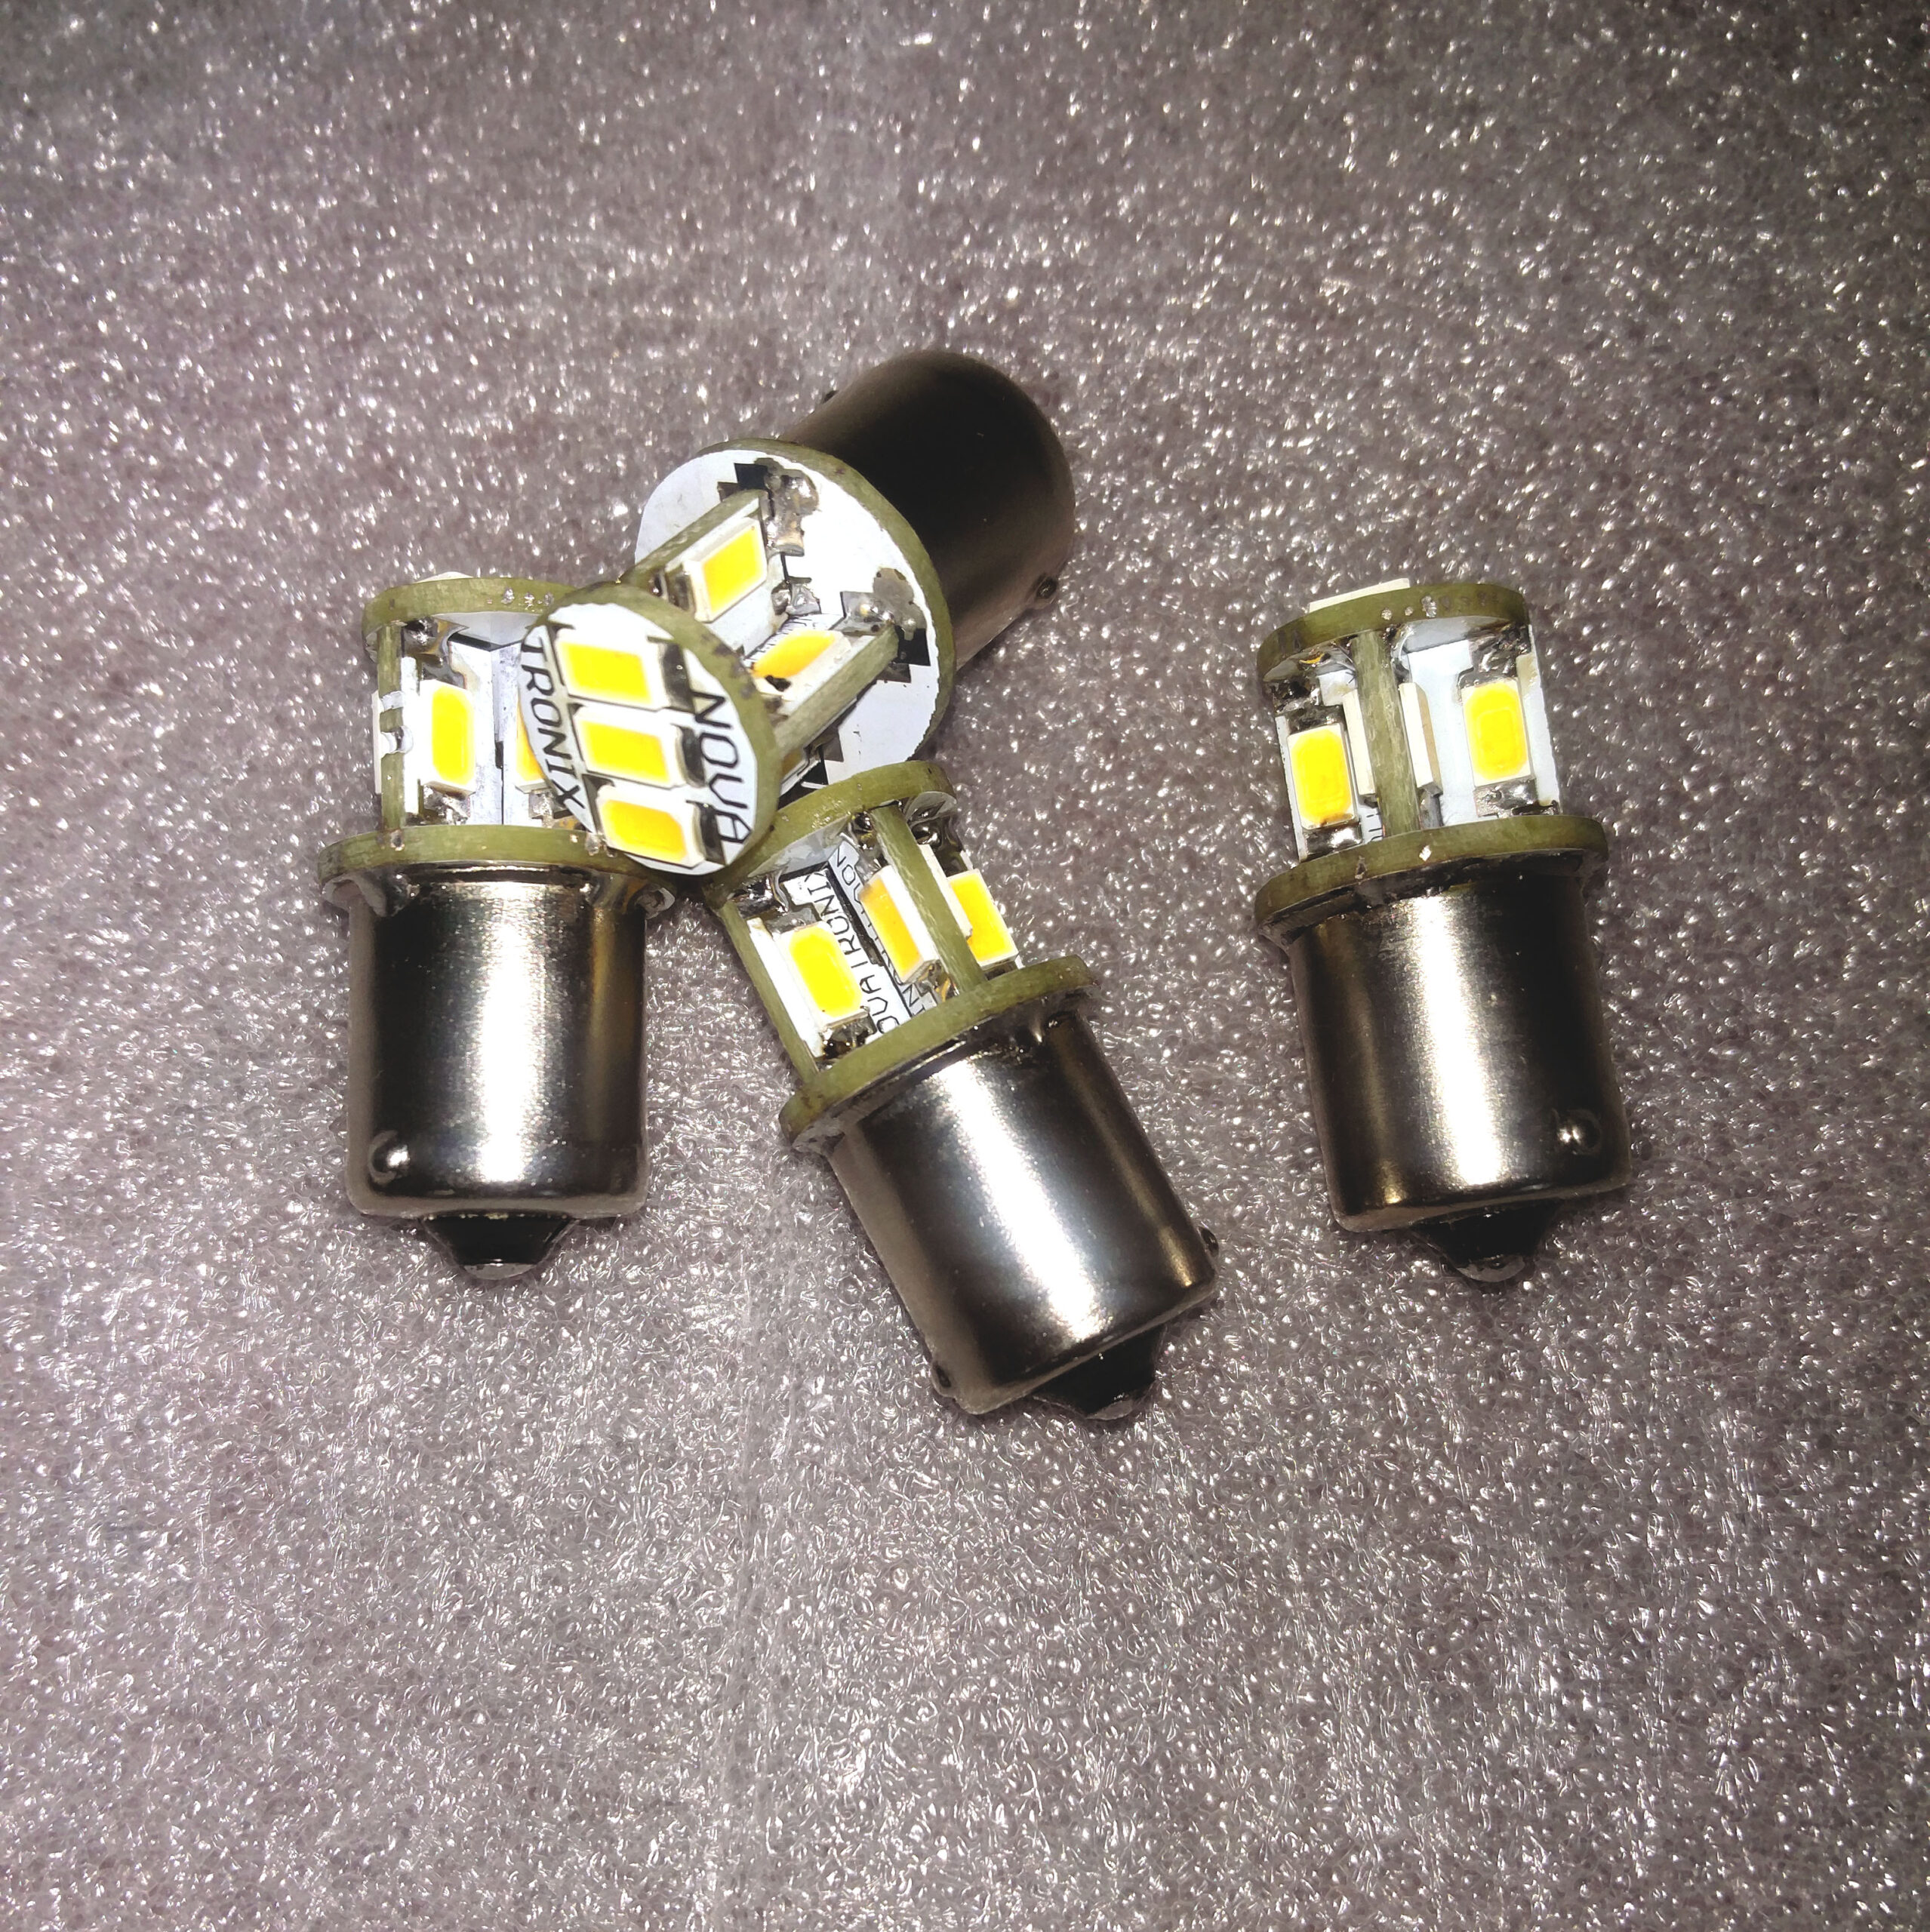
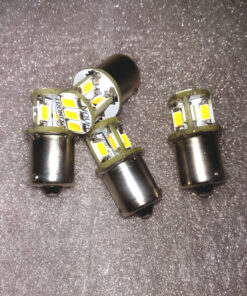
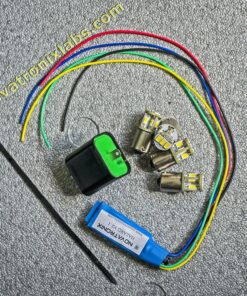
- 4 x LED Bulbs
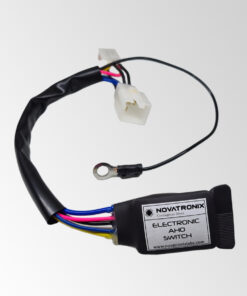
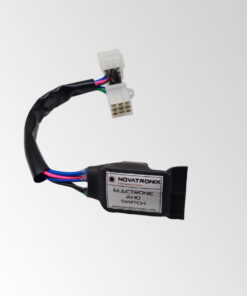
- HAZARD Controller
- LED Indicator Flashing Unit
- 1 x Cable Tie ( needed to tie the controller )
The kit will include 4 x LED Indicator bulbs.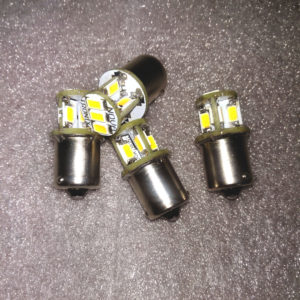
Play the video at 480p or above. Else the flashing patterns will not be much illustrative.
Installation Guide of the HAZARD System
** Warranty void if the unit it manhandled or water damaged.
Additional information
| Weight | 200 g |
|---|---|
| Bulb Type | 180° PINS, 150° PINS |
Reviews (15)
15 reviews for Universal LED Indicator HAZARD kit for THUNDERBIRD, Himalayan, Continental GT & Other Bikes
Add a review Cancel reply
You must be logged in to post a review.
Related products
Automotive
Automotive
Automotive
Automotive
Automotive


bharathratna.lam (verified owner) –
I have been facing the problem in installing,, i called you many times and found you busy during day times,,,, I want you to upload a video of installing hazard system in BS4 and please provide us circuit diagram for installation,,,, this is really not working here,,,, you said orally that this is same as Bs3 and i suspected whether you tested on any bS4 enfield??? please provide us circuit diagram indicating the wire colors or make a video or else return the product and i dont need ant return amount,,,
Novatronix (verified owner) –
It surely works on BS4. There is no difference between the BS3 and the BS4 wiring.
Everything is same. Its just that on the BS4 as you do not have the switch for headlight, you will require an extra switch to control the hazard patterns.
Please leave your number here or drop a message or whatsapp on 9831356789, we will call you back immediately.
bharathratna.lam (verified owner) –
how to add that additional switch to my classic 350 bs4?
Novatronix (verified owner) –
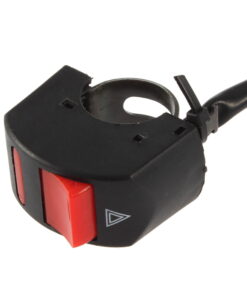
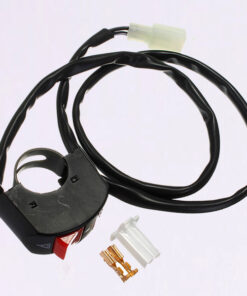
You require a Handlebar switch and then connect the pattern changing Blue wire to the switch.
The switch will be connected to positive.
simran042 –
Is that orange color led bulbs???
Novatronix (verified owner) –
These are Warm White LEDs
So if installed inside amber cover, the light is rich amber.
suraj –
how to buy ur product..
Novatronix (verified owner) –
Here
Satyadurga12 –
I Have interest to buy this but it’s out of stock, pls tell me when it will available in stock
Aziz –
Can I install this in my Apache RTR 180?
I liked this led kit very much.
Novatronix (verified owner) –
Yes..
swapnilchavan19960312 –
guys i am getting confuse…..where should i connect hazard red wire in ingnition L shape socket ???
Novatronix (verified owner) –
If you have a vehicle which is after the year 2015, your ignition switch will have 2 wires. One will be completely RED another will be RED with a White stripe on it.
You have to connect the RED wire of the Hazard unit to the RED/WHITE wire of the ignition switch.
amalranjan040 –
Is this suitable for Aprilia SR150….?
Novatronix (verified owner) –
Yes it is.
Ritchiraj Panda –
Loved this LED kit, The Hazard kit is great and much easy to install.
Just want to know if the LED Flasher relay is also equipped with indicator auto -off timer.
Rajavenkateshwaran (verified owner) –
Great Product, installed it to my old model avenger 220. In avenger need to note the below points
1) Since bi-colour wires are negative, left and right indicatord needs to be connected to non bi-coloured wires.
2) Turn Indicator signal in the tank needs to be cut off else, two indictators will glow simultaneously.
Recommended to do with a mechanic’s supervision.
Mr.Chandran Roy assisted me a lot when i faced the above issues.
Highly recommended !
manvendra.pundir (verified owner) –
It’ll be good if we have a installation video for New Thunderbird. Even a circuit diagram will do world of good.
Haritej Nuthan (verified owner) –
Checked out the wiring, sorry about the wrong information provided to Nitesh. The red wire from the hazard unit has to be connected to bicolour red wire of the L shaped connector from the ignition switch!
Haritej (verified owner) –
Hi Nitesh,
Sorry for being late in replying. In case you haven’t figured it out yet. Red wire from hazard unit has to be connected to the supply, which should be red coloured wire of 2 wire L shaped connector and NOT the bi-coloured wire on the Thunderbirds. Chandan can correct me if I am wrong. Happy DIY!
Nitesh (verified owner) –
Haritej the video shows red wire to be connected to blue wire as u mentioned in thunder bird it has to be connected to a simple 2 wire L shaped connector. Which can be traced from ignition switch, but the ignition switch has one wire as red and other as red/white. To which wire it needs to be connected.
HARITEJ (verified owner) –
Bought this one along with the hazard system for my brothers’ Classic 350. The coolest kit so far! The LED bulb is really bright and will add to your safety in heavy fog condition. Installation is very easy, follow the installation video on YouTube for the one on the Classic, however note that the relay unit for the hazard is beneath the saddle on the right hand side. To fix the hazard unit, remove the headlight assembly and connect the cables to the connectors, as in the classic 350 you will not find a 4 wire connector where the red cable from hazard unit has to be connected but in fact it is a simple 2 wire L shaped connector. You can trace it from the ignition key switch. Connections to the indicators are straightforward. Since the thunderbird has only one parking light/Daytime running lamp, there is a 4 wire connector which plugs into the headlight assembly, observe that there is usually a grey (+ve) and black (gnd) that is connected to the DRL/parking light, trace these wires back to the four pin connector and plug the blue cable from hazard unit to grey pin and black cable to the black pin. You do not have to remove the indicator bulb from the speedometer though.
SMD LEDs on the bulb socket are excellent and NOVATRONIX printed all over the little space in-between is cool. Overall, value for money and will easily make you stand out in the group whilst adding to your safety! Cheers again.